Thursday, September 3, 2020

Giant Millipede Plush

 I decided to make a giant millipede plush toy for my daughters. As if we don't have enough stuffed toys laying around. So, I made him out of a couple of blankets that I found for cheap. Lots of times you can get a minky blanket for cheaper than the fabric costs at the store.

Making all the little legs out of fuzzy string took forever.
I made him in a way so that you can pull on his antennae and curl him up in a spiral like real millipedes do for defense.
He makes a great seat cushion like this.


We named him Huppala because that's what you say in German when you go over a speed bump and he looks like a speed bump.


The girls already love him!

Thursday, July 9, 2020

Squid Surf

This is a project I did way back in 2014 in collaboration with my cousin's mobile gaming company Blue Digit Games. Unfortunately, its not available anymore on the app store, but it's called Squid Surfers and the game play was similar to Flappybird. So these are some of the game assets that I worked on including: sprite animation, character design, logo design and user interface design.

It was originally called Squid Riders, but was later changed to Squid Surfers. I like this version better.


Wednesday, February 24, 2016

Reinhardt (WIP) Part 2

SO I have been working on my Reinhardt figurine pretty steadily and so I thought I should show some progress pics. I have most of the body done except for a few detail areas that I am saving for last. I need to finish up the arm and his hammer and shield. Then I can attach the pauldrons and do the final detail work. 


Friday, February 12, 2016

Modeling Knife

So at work they have been teaching me to make custom clay modeling tools from scratch. It is a lot of fun and I have learned a lot about metal working and get to use lots of high quality wood and other fun things. The latest tool that I have made is my modeling knife. Here are some pictures of the final product.


The design is partially inspired by dwarven weaponry from the Hobbit. I have the art book from The Hobbit: An Unexpected Journey Chronicles Art & Design and it has lots of really cool sketches of different swords, tools and trinkets from each of the dwarves.


These are my large double sided rake and my small rake. I put a lot of angular shapes in the design. My theme for all my tools has been, "twisted geometry"where things are faceted like crystal but the facets are slightly warped to be a little more ergonomic and fit the overall shape of the handle.

With the knife I chose to sandwich two different types of wood together to get another color and a different pop of pattern. The inner wood is some random piece of cross cut scrap that I found in the bin and the outside darker wood is a really dark piece of cocobolo. I love how the cocobolo polishes into a lacquer-like finish. I sanded it to 1500 grit and then buffed it and it shines like plastic.


I set the handle with brass pins that I sanded to fit the facets of the handle. The angles cut into the wood revealed the inner layer in really interesting ways. Shout out to Biltsharp Knives who was kind enough to give me some advice on putting this thing together. I reached out to him through Tumblr and he took some time to message me with a few of his tips and tricks for knife building. Definitely check him out 'cause his work is mind-blowingly amazing.


Since it is a clay knife it will be used for drawing lines on the model and carving out rough chunks so the point is rounded so it can draw curves easier and the edge isn't really sharp enough to cut much. It seems to fit in my hand nice and comfortably and I am super excited to see how it holds up to daily use at work.

Quincy's Side Table

So I while ago I got a bunch of these old mahogany floorboards for free. A lot of them have water damage and aren't usable for flooring anymore, but I decided to make something out of them.


I sanded them up and they looked pretty nice.


We got these hanging metal baskets for like $2 each in the clearance section of Hobby Lobby.
They have a hinged door on the top that will work as a side door. They used to be like a rusty red color but I painted them gold and they look much better.


My idea is to stand them on end and put them back to back like this to make the base of the table.


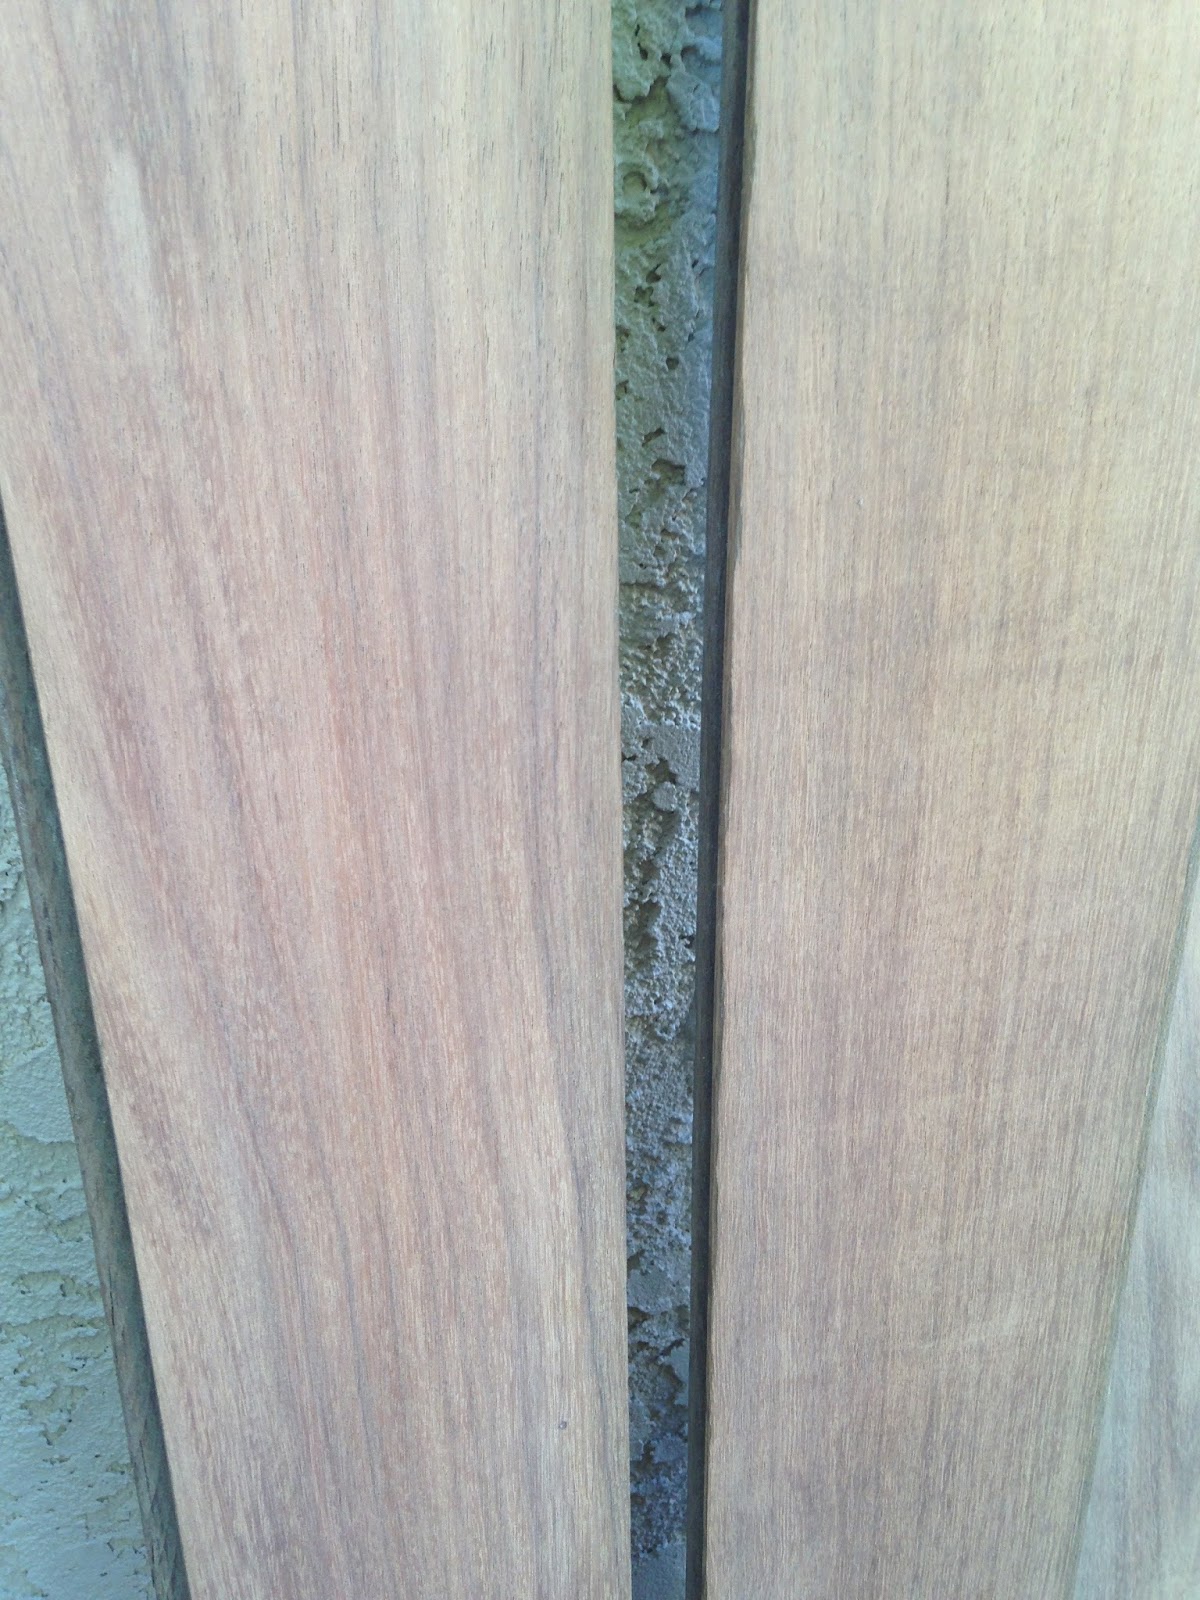
I cut off the tongue and groove joinery from the edges of a few of the boards that will be the edge of the table and I whittled them round and cut them into pegs to join the boards together.

So the table top was glued together with the tongue and grooves like they are meant to as floorboards. I clamped them and pressed them as they dried to make sure everything came out flat and straight. I also made a framework out of boards that I cut up into smaller pieces and glued it together with pegs. 


When all the glue was dry I took the clamps off and stuck the frame to the top with more pegs. Then with it all set and solid I trimmed off the corners.


Then I sanded everything flat. The handheld belt sander isn't ideal for this I know, but you have to work with the tools you have.


The cages for the base were clipped together with little pieces of metal that I unbent from those little picture hanger clip things and bent them around the bars to hold it all together.

The table top is connected to the cage with cable tie down clips. The round part that would hold the wire is around the bar and then the hole that would attach the clip to a wall or something was used to screw into the bottom of the tabletop. I decided not to do a trim around the edge of the table so that you can still see some of the joinery and stuff to give it a more rustic look.

We finished the table top with a little white wash. I wanted to color it a lighter color to make it stand out more from the gold of the cage, but still be able to show the grain of the wood. It turned out pretty nice and it looks great in her room.


I am thinking of maybe putting a shelf inside to store some of her books. As it is now it works for a cage to put her stuffed animals in.


Tuesday, February 9, 2016

Reinhardt Figurine (WIP)

I wanted to get some practice with the clay we use at work so I decided to sculpt a little figurine of one of the characters from Blizzard's new game Overwatch. They have so many interesting and unique characters that it was really hard to choose but I finally settled on Reinhardt. I really liked the big chunky look of this massive robotic suit of armor and thought it would be a good challenge.


I started out just slapping clay on my armature to get the pose in.


As I started refining the forms and getting a little detail I was having a hard time reaching in some of the areas so I removed the clay from the arms .


It has been pretty tricky figuring out how all the little armor plates slide around as the character twists and poses.


I have most of the detail done on the torso and I just need to finish up the back and then I will move on to the legs. It was super cool of Blizzard to post the model sheets of all these characters. Now I have perfect reference for all the little detail areas. It is slow going, but I will post more as it gets farther along.

Saturday, January 30, 2016

Hedgehog Bookends

Back in December I made some bookends for some good friends of ours as a Christmas gift. I used a chunk of a pine branch I had laying around and sculpted some little hedgehogs to go on top.


I split the stump in half and sanded the sides flat. Then I carved up the top of the stumps to look more natural like a stump in the forest.


I wanted something to make them more than just a chunk of wood so I made a bunch of little mushrooms and fungus out of hot glue.


So I got a little dish full of ice water and my small hot glue gun and pretty much just squirted a bunch of strings into the water.


They formed kind of like noodles that I cut up in little sections for the stems of the mushrooms.


then i carefully put a little glob on the thinner end of the little stem and tapped the end of it into the mushroom cap shape with my finger that I had chilled in the ice water.


Then I dipped it in the ice water to solidify it.


once I had enough I glued them in a little cluster to the side of the log in a little crevice where the bark had chipped off.


For the shelf fungus I used the bottom of the water dish and made a half circle shape with the hot glue gun. Then I made layers underneath that of hot glue that got progressively smaller and smaller until they made a little upside-down peak. Once that set I popped it off and used the hot tip of the glue gun to melt some rings of texture in the top of the steps where it was stuck to the dish. Then I glued them in place.


After that was all in place I gave it a few coats of shellac to seal the wood.


I painted everything black first and then silver to make it look like metal.


The hedgehogs are not attached to the logs but I put small dots of hot glue on their feet so they can grip to the painted surface.


The silver really helps to make it all unified and fancy looking. 


I had some thin black leather that I cut out and glued them to the bottom with rubber cement so they don't scratch the surface they are put on.

Here they are with the hedgehogs posed on them.
Not bad for a nights work.